A Step-by-Step Guide to Transform Your Walls
Are you ready to elevate your interior design with some classic elegance? Learning how to install wainscoting can give any room a sophisticated touch. With basic tools and a bit of patience, you can achieve a professional-looking result even if you’re a DIY beginner.
Understanding Wood Paneling
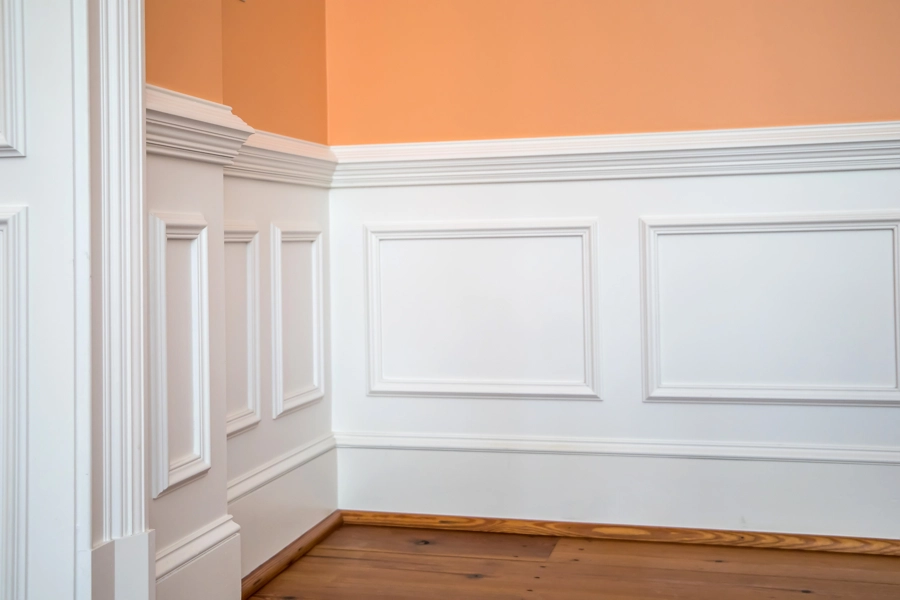
Also known as wood paneling, this is decorative paneling applied to the lower part of walls. Originally used to protect walls from damage, it has now become a popular choice for adding visual interest and style to a space. It can be manufactured from various materials like wood, MDF, or PVC.
Prep Your Materials and Tools
Before you start your wood paneling project, it’s essential to have all the necessary materials and tools on hand. You’ll need wood paneling and molding, including chair rail and baseboard, to create the desired look. Make sure to have a measuring tape and level for accurate measurements, as well as a miter saw for cutting angles. A nail gun or hammer with finishing nails will be necessary for secure installation, along with construction adhesive for added stability. Don’t forget a pencil for marking, as well as a caulk and a caulking gun to fill in any gaps. If you plan to enhance the finish, having paint or stain on hand is also a good idea.
Preparing the Wall
Preparation is key to achieving a smooth finish for your wood paneling project. Start by removing any existing baseboards or moldings to create a clean slate. Next, use a level to draw a straight horizontal line indicating where the top of the wood paneling will be placed. Make sure the wall is clean, dry, and free of any debris to ensure proper adhesion. If you notice any imperfections, take the time to sand them down and fill any holes with spackle for a flawless surface.
Measuring and Cutting Panels
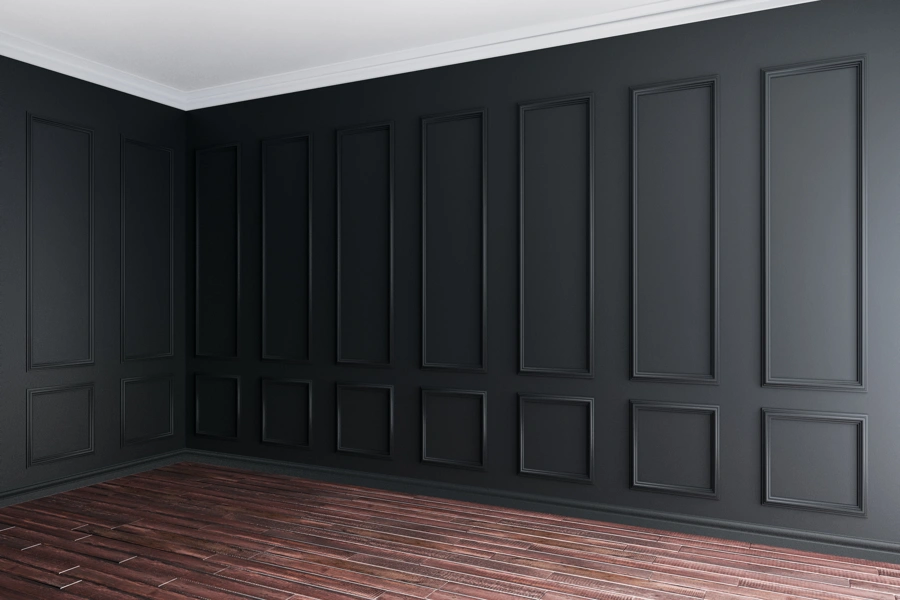
This step requires accuracy to ensure that the wood panels fit perfectly. Begin by measuring the height from the floor to the line you marked on the wall. Use a miter saw to cut your wood panels to this precise height. If there are outlets or switches in the way, be sure to measure and cut notches in the panels accordingly. Always double-check all measurements before cutting to avoid any errors, ensuring a seamless installation.
Installing the Panels
Now, it’s time to attach the panels to the wall. Start by applying construction adhesive to the back of each panel, ensuring an even coverage. Press the panel firmly against the wall, aligning it with the marked line for a precise fit. For extra hold, secure the panel with finishing nails or a nail gun. Continue placing the panels side by side until the entire area is covered, creating a beautiful and cohesive look.
Adding Molding and Finishing Touches
The molding adds a polished look to your wood paneling and completes the project beautifully. Start by attaching the chair rail at the top edge of the panels, ensuring it’s level and secure. Next, add baseboards along the bottom edge of the panels for a finished appearance. Use caulk to fill any gaps and seams, creating a seamless look. If desired, you can paint or stain your new wainscoted wall to match your decor, adding that final touch to enhance the overall aesthetic.
How To Install Wainscoting: Final Thoughts
Don’t forget that learning how to install wainscoting can be a complex job, especially when you are new to the job. Fortunately, you have Castro Carpentry Company to hire to get the job done right. We are a team of carpenters based in Woodstock, IL. Contact us now at (815) 270-3858.